How to Build a Pollinator Garden
As summer turns to fall and the days and nights cool down we start to turn our thoughts to the impending winter months. Of course from there we think about all the things we need to get done outside before the snow flies. One of the things on UVLT’s list was to complete the pollinator garden at Lyme Hill that we started in April of this year. It was time to put the garden to bed for winter.
We began the pollinator garden back in the spring, first by mowing the roughly half acre of field around the parking lot at Lyme Hill and then by spending a day covering all the grass with thick, UV rated, black plastic. The idea was to solarize the grass and plants underneath, as well as the seed bank in the soil, so that the flowers and grasses we would plant later in the season wouldn’t have as much competition when it came time to grow. Solarizing also meant that there would be less need to till the ground when it came to planting time, and so we would be able to preserve the soil structure and microbiota, ensuring healthy soils for our garden.
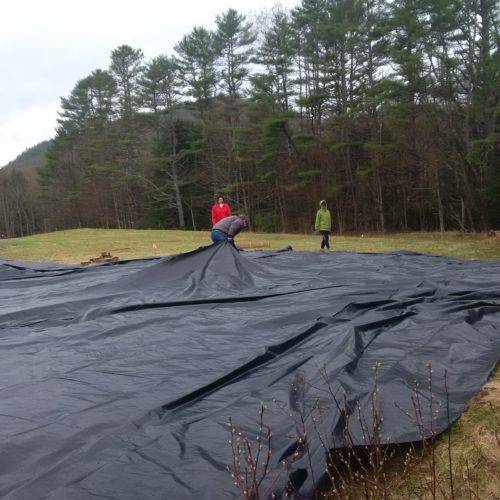
In April Dartmouth Students helped us to lay down the black plastic to solarize the field.
The plastic stayed all summer, held down by old tires, rocks, branches and logs. Several times we had to go and add more weight to keep the plastic from flying in the wind. We finally found our equilibrium with that and left the plastic to do its job. Meanwhile we were busy ordering a native seed mix from Prairie Nursery in Wisconsin. The mix was designed and tested by scientists at UNH to specifically meet the qualifications for a New Hampshire pollinator garden.
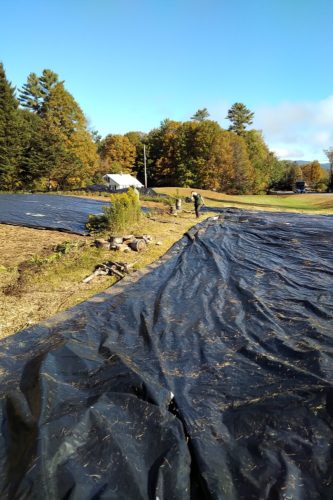
The plastic after bring pulled off and drying in the field.
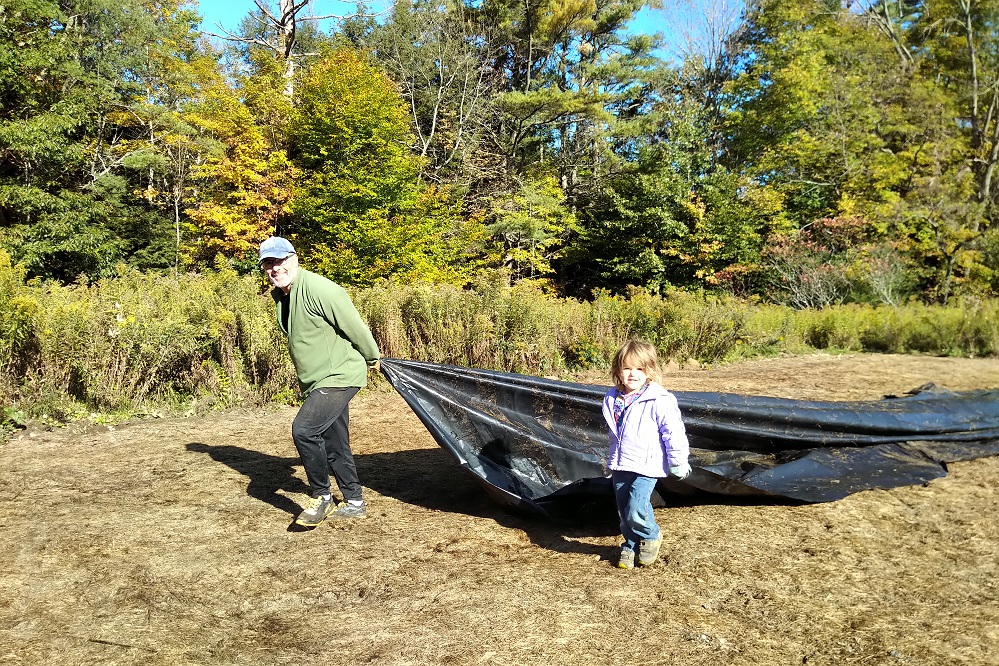
We gathered a group of UVLT staff, corporate volunteers from King Arthur Four, and several community members and went to work. First, we removed the black plastic. It takes a lot of plastic to cover a 1/3 of an acre! We took off the weights, dug up the corners, and pulled the plastic out into the field to dry. Underneath we found mostly bare ground and dead grass – and cool patterns left by voles.
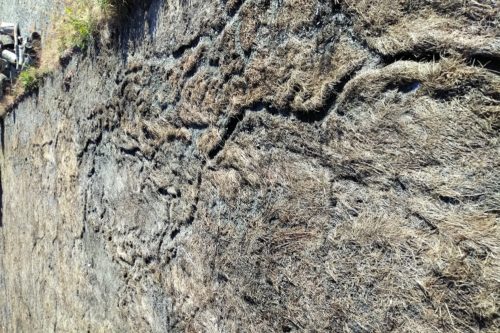
Vole patterns and dead grass
The dead grass that was left needed to go first. Every volunteer took a rake and got to work. In about an hour, 12 people had raked the entire 1/3 acre free of grass. Next we spread oat seeds evenly over the garden area. The oats will sprout within a week of being planted and act as a cover crop, holding the soil in place over the fall, winter, and spring until the pollinator seeds start to grow.
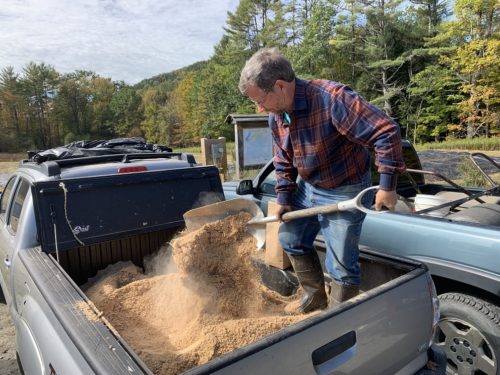
UVLT Vice President of Stewardship and Strategic Initiatives mixing seeds into sawdust.
Next came the pollinator seed mix. It’s important that these seeds be planted now in the fall, rather than first thing in the spring. Since the seeds are native plants, many of them actually need to spend the cold winter on the ground in order to germinate in the spring because that’s what most of our native plant seeds do. It’s called cold stratification. To spread the seeds, some of which are poppy seed sized, they must be mixed with something else to avoid clumping and get an even spread over the entire area. To do this we mixed the seeds with sawdust (thank you to the Thetford Academy Woodshop!) in the bed of a truck and spread 16 5 gallon buckets of the mix evenly across our garden.
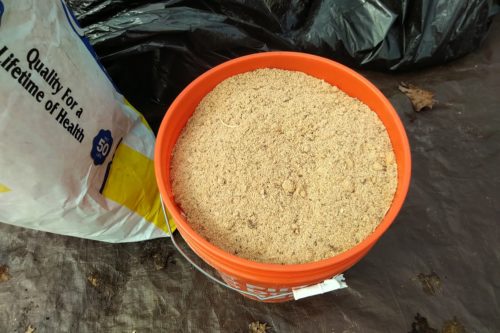
Sawdust and seeds in the bucket and ready to spread.
After spreading the seeds the last step in the process is rolling. With four rented pushed rollers, each filled with water and weighing about 100 lbs, we rolled the entire garden area and pushed the seeds firmly into the soil. Now we wait. In a few days we should see the oats being to sprout and grow, turning the large dirt patch a vibrant green. Then comes cold and ice and snow and eventually the promise of spring. Our pollinator plants should start to take hold and grow then and we may be lucky enough to see some blooms next year.
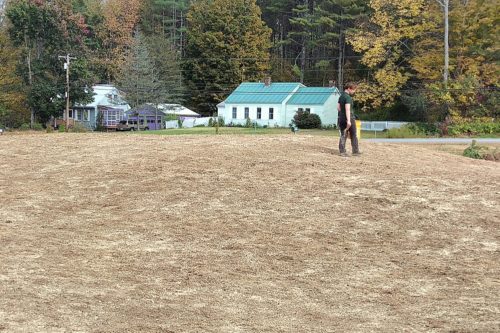
Spreading seeds onto the pollinator garden.
Still to come at the garden? A bench, pollinator garden signs, and an interpretive sign explaining the process and importance of supporting our native bees and butterflies (and flies and beetles). None of this work would have been possible without the gracious financial assistance of the Lyme Foundation and support from our corporate and community volunteers.


Leave a Reply
Want to join the discussion?Feel free to contribute!